At a Glance:
How to Diagnose a Gas Range Burner
Why Won’t My Electronic Stove Top Turn On?
Why Won’t My Electronic Stove Oven Turn Off?
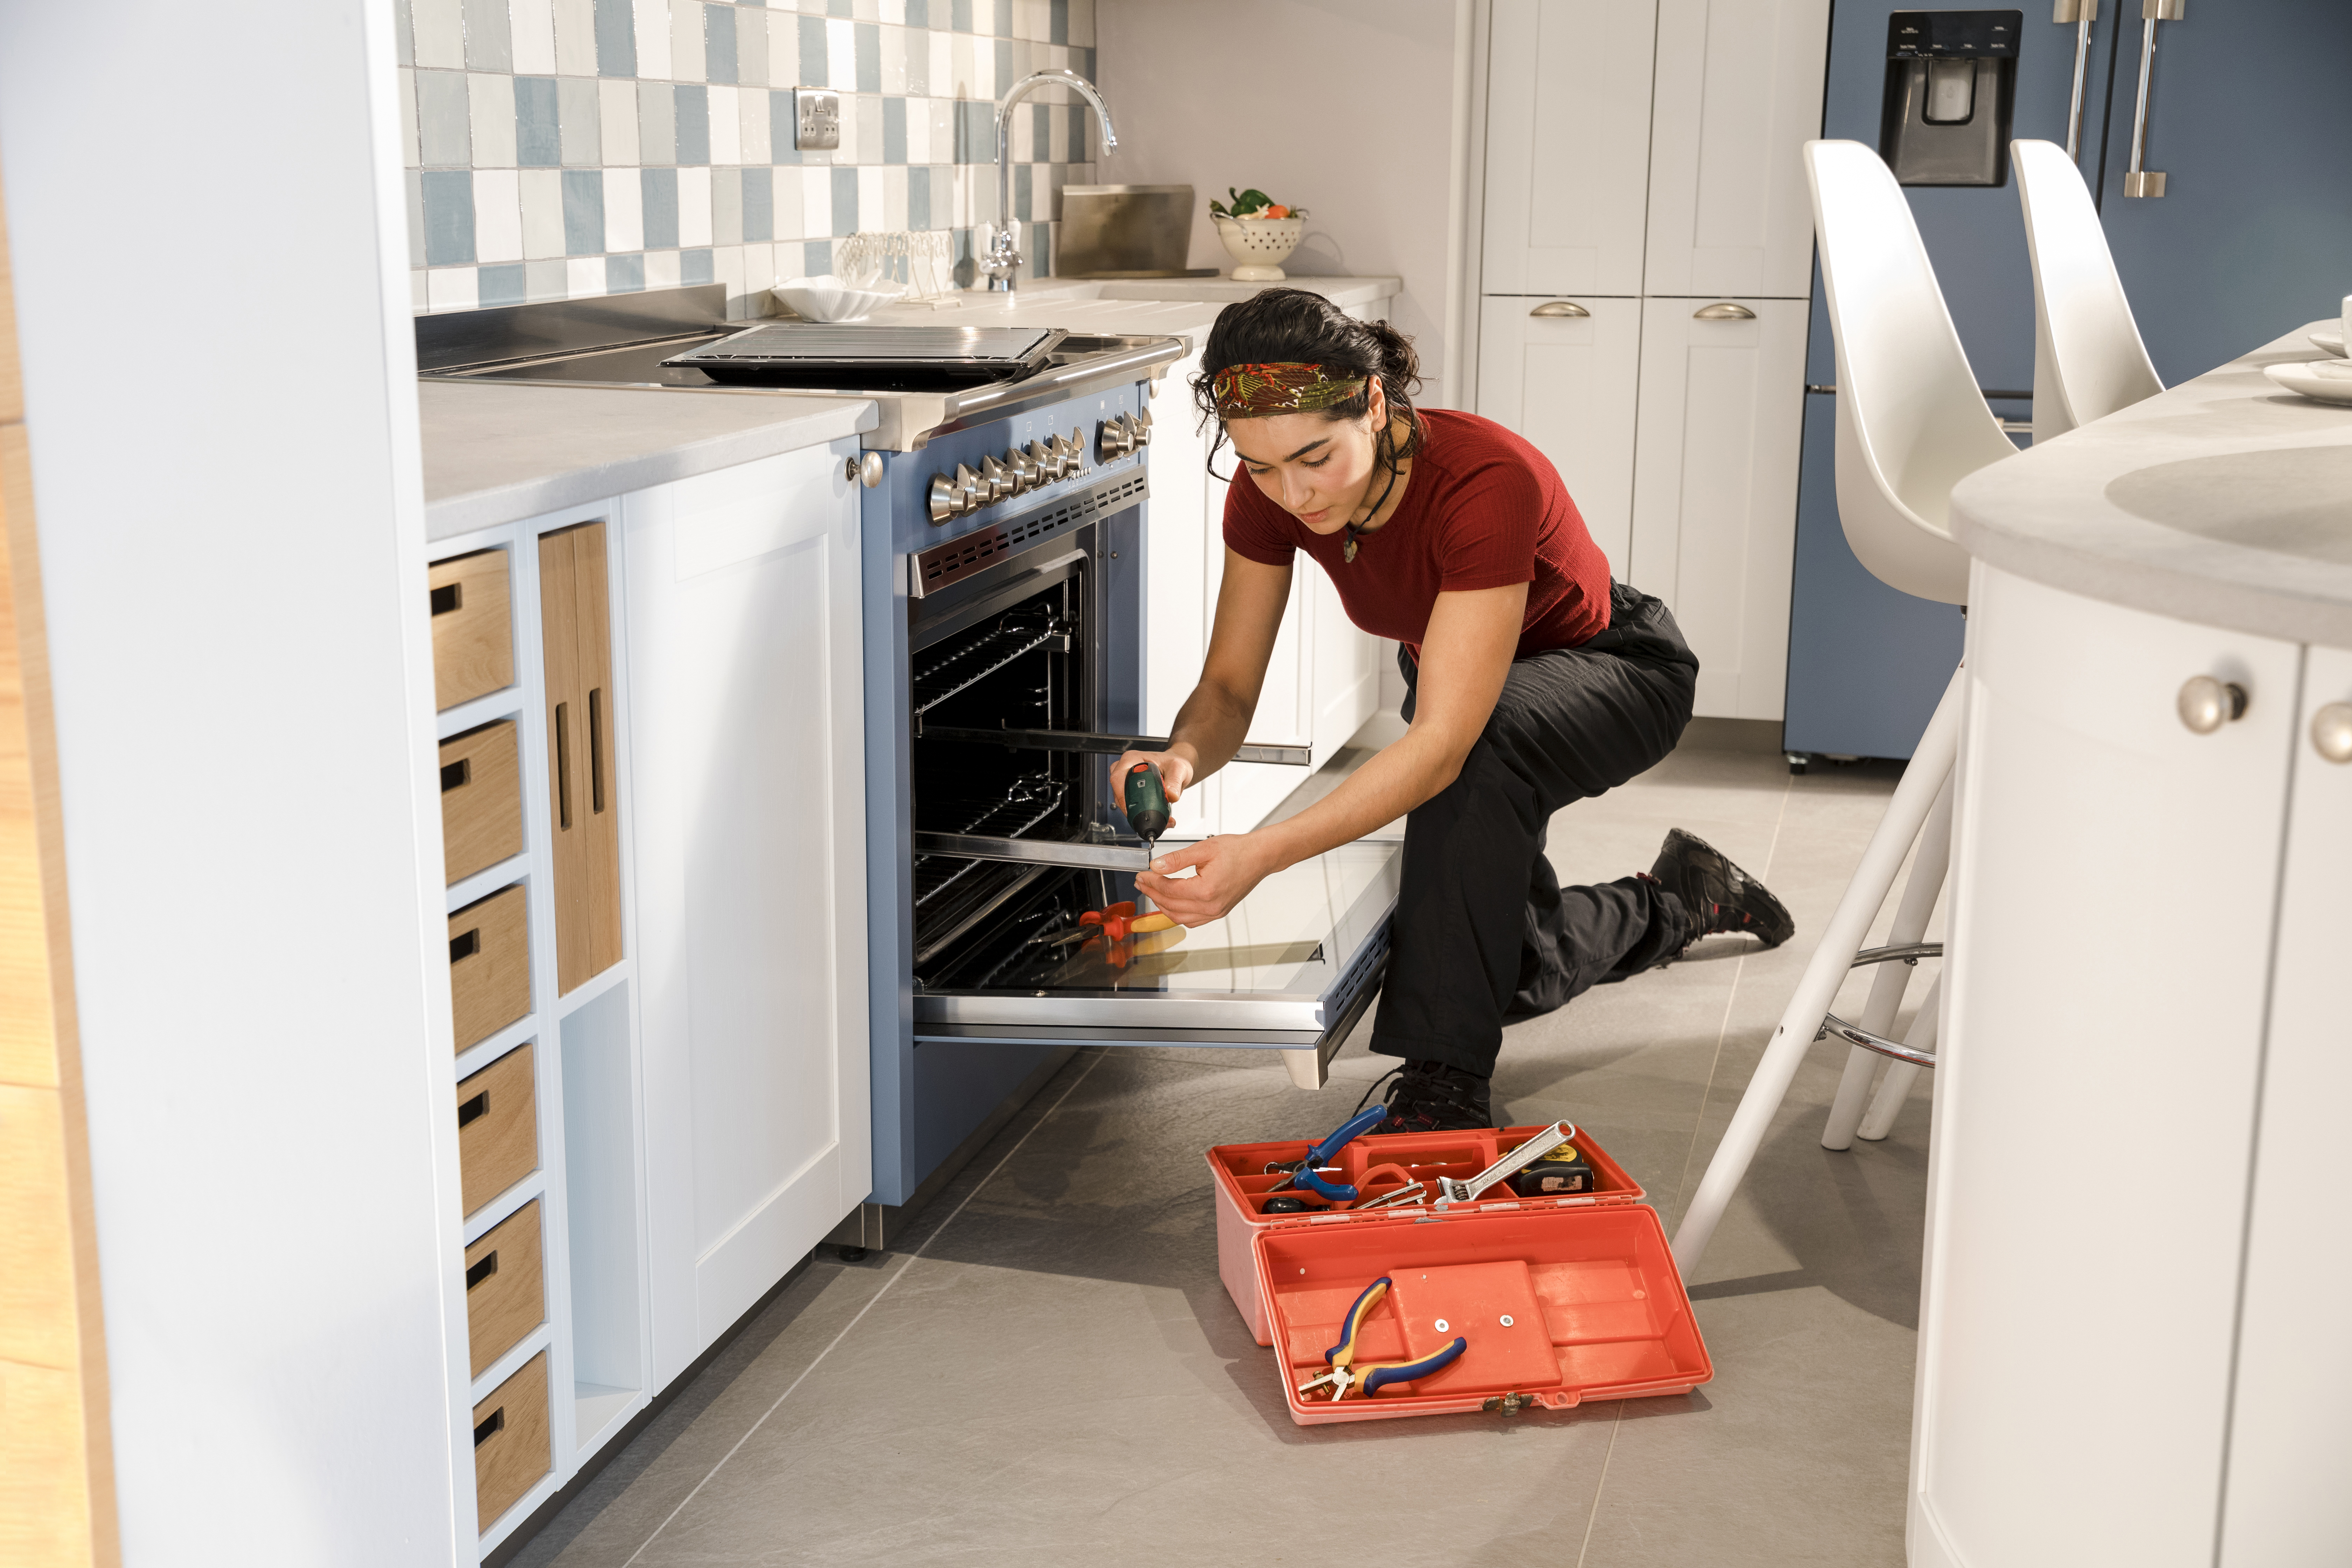
So, here you are, scouring the internet for ways to quickly fix a stove burner that’s gone haywire or an oven that is taking a century to cook a frozen lasagna on a busy weeknight. Since we rely on ranges so much in our homes, even the smallest stove inconvenience can make mealtime a bigger production than it already is. Luckily, you’ve got the experts on your side to help you diagnose common stove problems and how to fix them yourself.
Follow along as we give you the details on frequent stove errors from cooktops to ovens, followed by step-by-step solutions to get your range up and working.
Gas Range Burner Won’t Ignite
Compared to electric ranges, gas stoves have more parts — and that means the higher the chance of something needing attention sooner or later. Here are a few tips for troubleshooting and repairing your gas range yourself.
Check if the Gas Ports Are Clogged with Food Debris
In many cases, a gas burner won’t ignite because of crumbs and messes that are blocking gas from flowing to the spark igniter. The biggest indications that a gas burner is clogged are a clicking noise without any flame or a flame port that only partially ignites.
Luckily, knowing how to clean a gas burner requires just a few basic steps.
✓ Here’s what you need to do.
- Start by disconnecting your appliance to its power supply.
- Next, remove the cooking grates and the burner cap from the flame port. Depending on your model, this may require unscrewing a few screws or simply lifting the cover off.
- Inspect the inside for any pieces of food that might be stuck and remove them.
- Then, soak the burner with vinegar and warm water for a few minutes before wiping it away.
- After soaking, take a brush to remove food debris between the crevices of the burner.
- After brushing, take a fine-tipped object such as a safety pin or paperclip and clean the burner hole. The location of the port hole will vary from brand to brand, but generally, it will be a small hole near the igniter.
- After thoroughly removing any debris, replace the cover and screws, if applicable. The cover must be put back on in order to test whether the gas burner is working correctly.
Check if Your Gas Burner Has a Bad Connection
Despite their fuel source, gas ranges still rely on electricity to create a spark to ignite a burner. In some cases, the wiring responsible for this job can become loose, resulting in a failure to ignite a burner.
To check whether your gas burner has loose wiring:
- Begin by disconnecting your appliance from its power supply and gas line.
- After removing the grates, loosen a gas burner by turning counterclockwise.
- Once loosened, inspect for damage or loose connections.
If there is no damage or a bad connection, you may need to hire a professional to install a new connection to your range’s control module.
Check if the Gas Burner Igniter is Bad
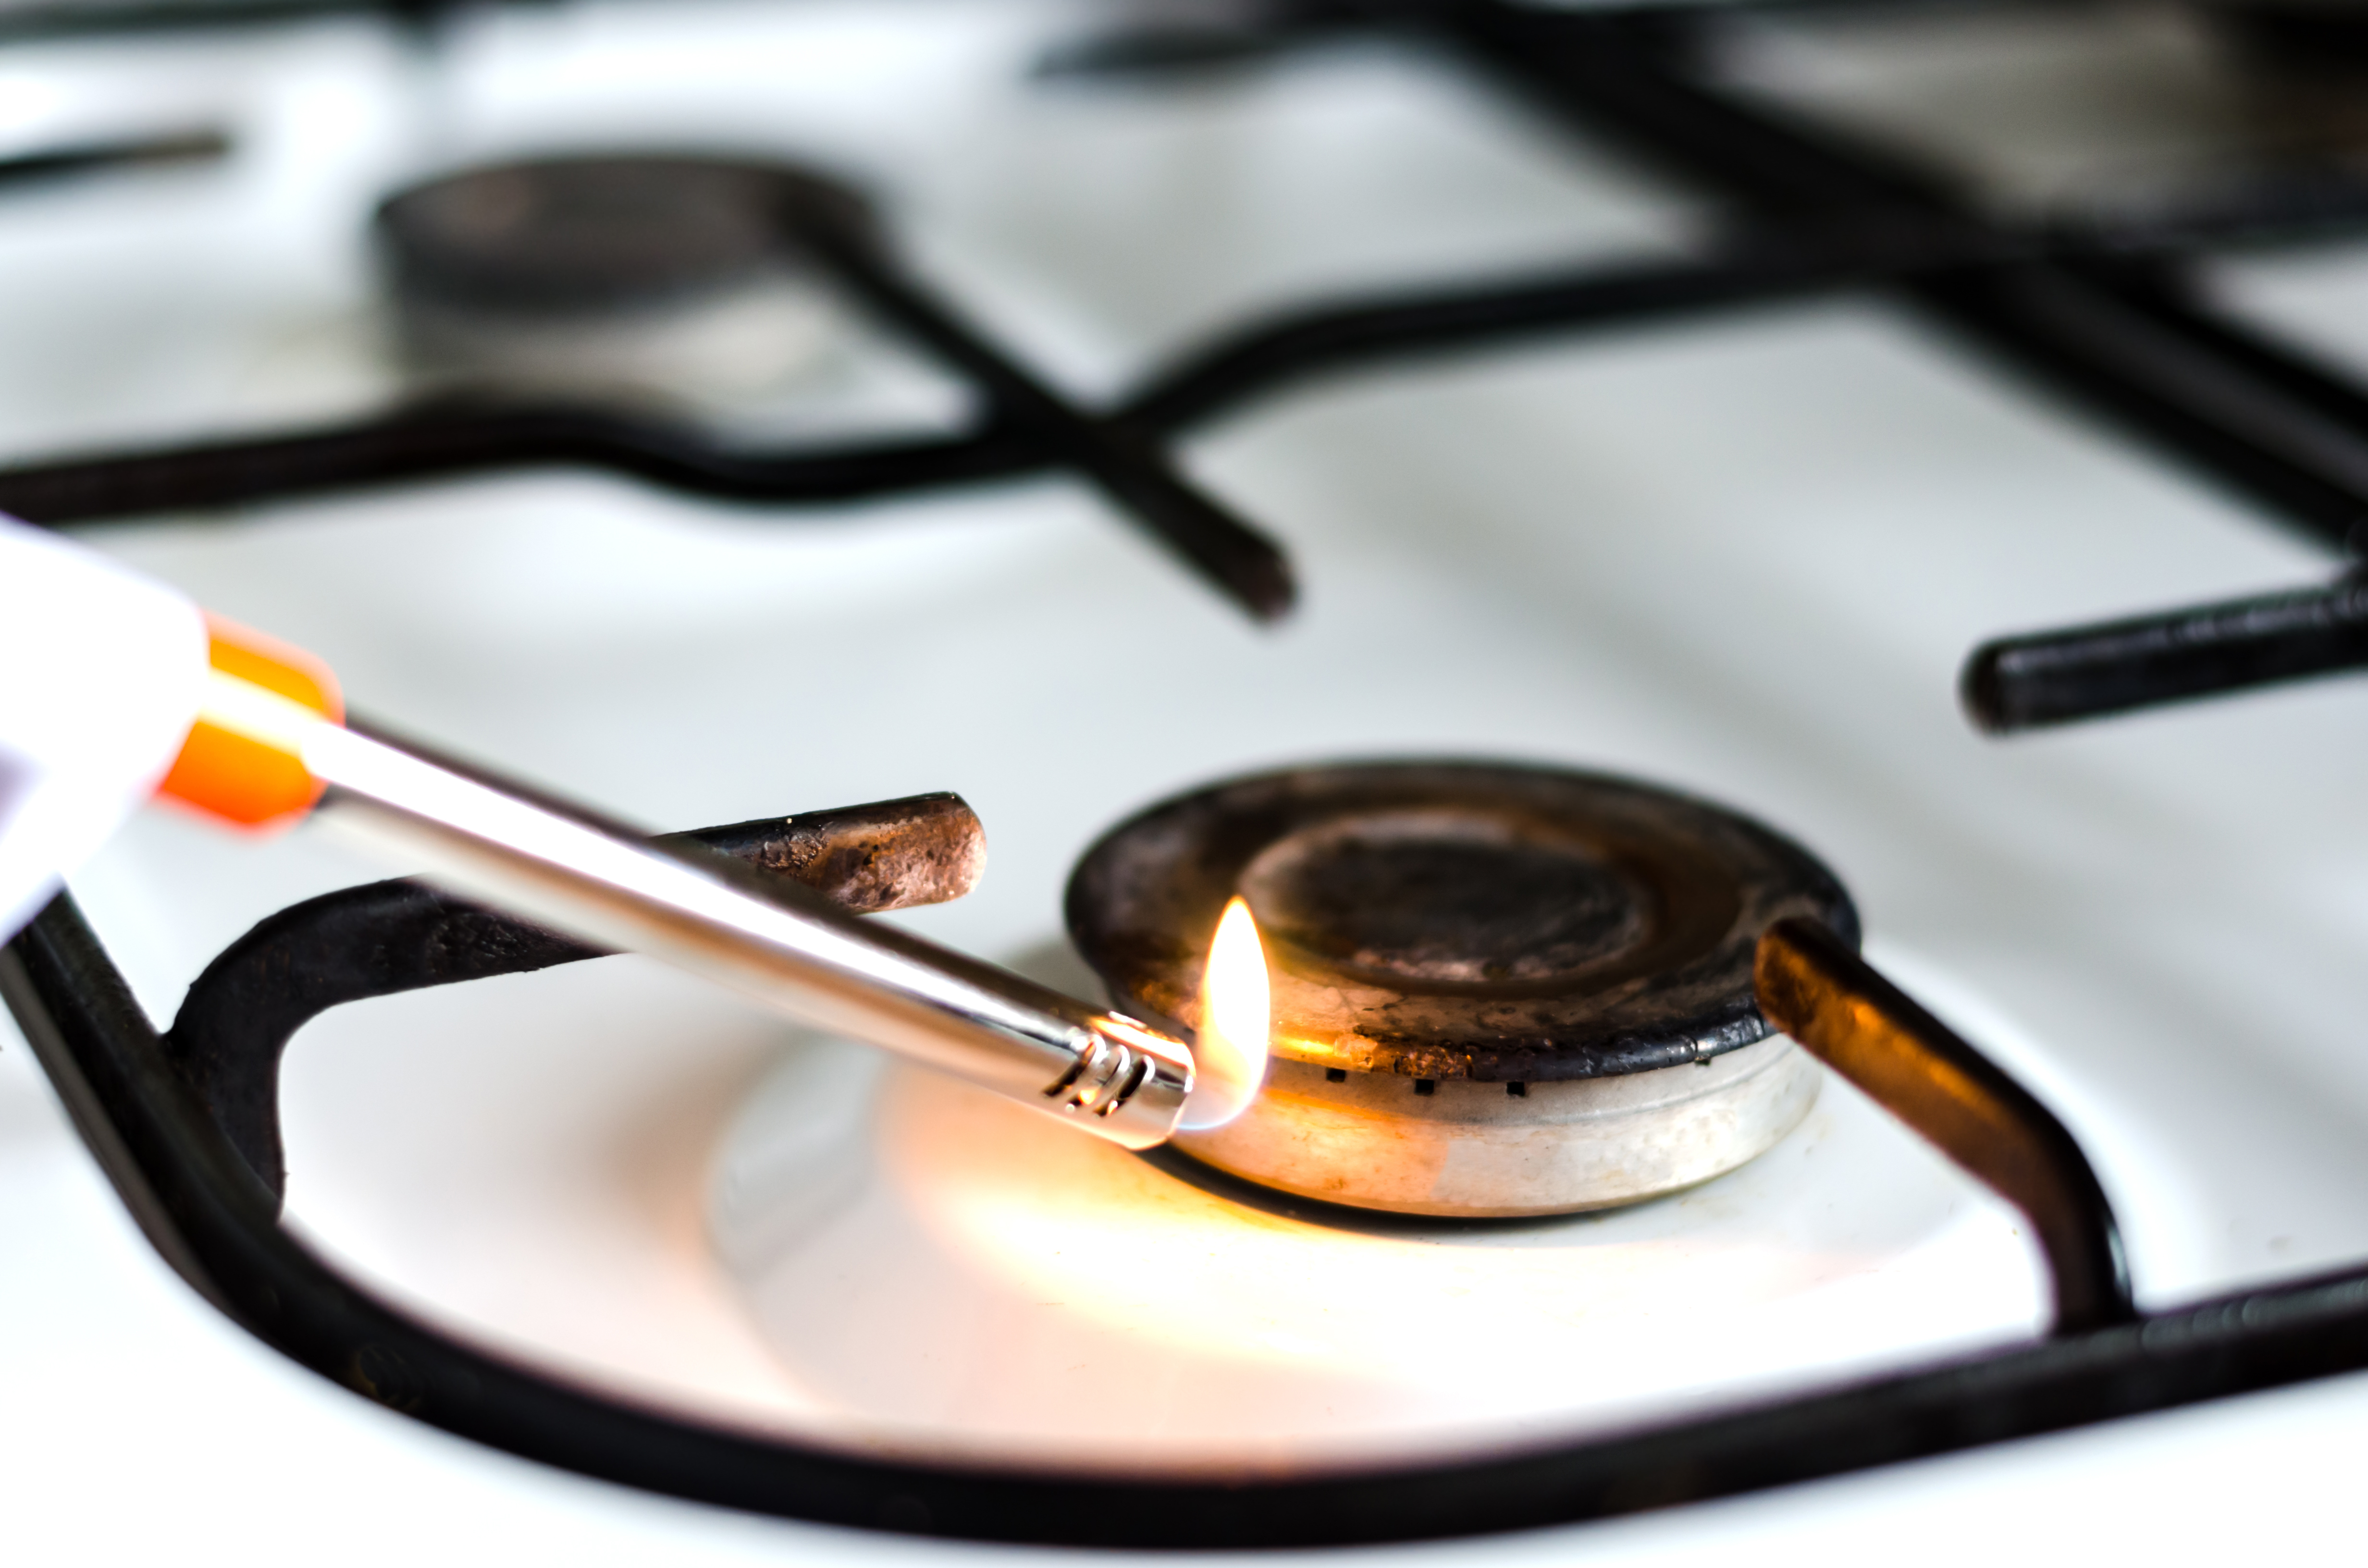
The next time your gas burner gives you trouble, turn the knobs to full blast and turn out the kitchen lights. Ideally, you should see sparks glow a bright blue or white, but if you see a flame that’s yellow or orange, it’s a sign that a faulty igniter may be the problem.
To replace a broken gas igniter, start by switching the gas supply off and unplugging your range from the power outlet. You’ll also need to know the wire model number before replacing, which can be found in the user manual or online by typing in the model number of your gas range and referencing the manual online from the manufacturer’s page
✓ Continue with the following:
- Remove the grates from the burner(s) that won’t ignite.
- Unplace the burner cap(s) and base(s); this should expose a stovetop base with screws that secure the stovetop to the main top.
- Once the screws have been removed, gently lift the stove main top using a putty knife or a flat object making sure to be careful of sharp edges; remove the top completely.
- Locate the faulty gas burner(s) and the coordinating wire(s) that belong to each. If you have multiple burner igniters that need replacing, we recommend doing so one at a time to ensure there are no wire mix-ups when reconnecting.
- Disconnect the igniter wire, unlatch the igniter from its spring clip, and feed the old wire through the wire holder to remove it completely.
- Insert the new igniter wire in the holder and it into its dedicated outlet in the spark module.
Once the new gas igniter is installed, replace the stove main top and secure it down with the screws removed in step 2. Then, feed the igniter switch through the hole in the burner, replace the cap and grates, reconnect your gas range, and ensure that your stove is working properly.
Shop In-Stock Ranges at Don’s Appliances
In-Stock RangesElectric Stove Top Won’t Turn On
A red-hot heating element is usually a sign it’s time to cook. But when an electric heating element doesn’t turn off after meal preparation is over, it’s a fire hazard and safety concern. This is one of the most common stove problems for electric ranges, which ultimately comes down to four factors:
- a broken knob
- a failed control pad
- a faulty element
- a surface element switch that needs repairing
→ Start with the easiest diagnosis — testing your range’s control knobs. Simply remove the knob cover of the faulty coil element and turn the power on using pliers. If the element turns on and off as it’s supposed to, replacing the knob might be the solution.
→ If a broken knob isn’t the problem, try giving your electric range a system restart. This can be done by disconnecting the range from its power source and waiting a full minute before reconnecting. When testing, make sure to wait a full 60 seconds to guarantee the range has been entirely cut from its power supply. After at least a minute, reconnect your stove and test the heating element.
→ No luck? Then consider the heating elements and elements switches. Often, a trip causes damage to a heater coil or element switch. To test if there is a trip, you’ll need a multimeter to check for any electric conductivity between the terminal and the actual heating element.
Traditional electric ranges with ceramic coil burners (the ones with a spiral design) can be replaced by buying a new coil burner from an appliance store or an online appliance parts shop. For smooth top electric ranges, replacing a broken heating element is more involved.
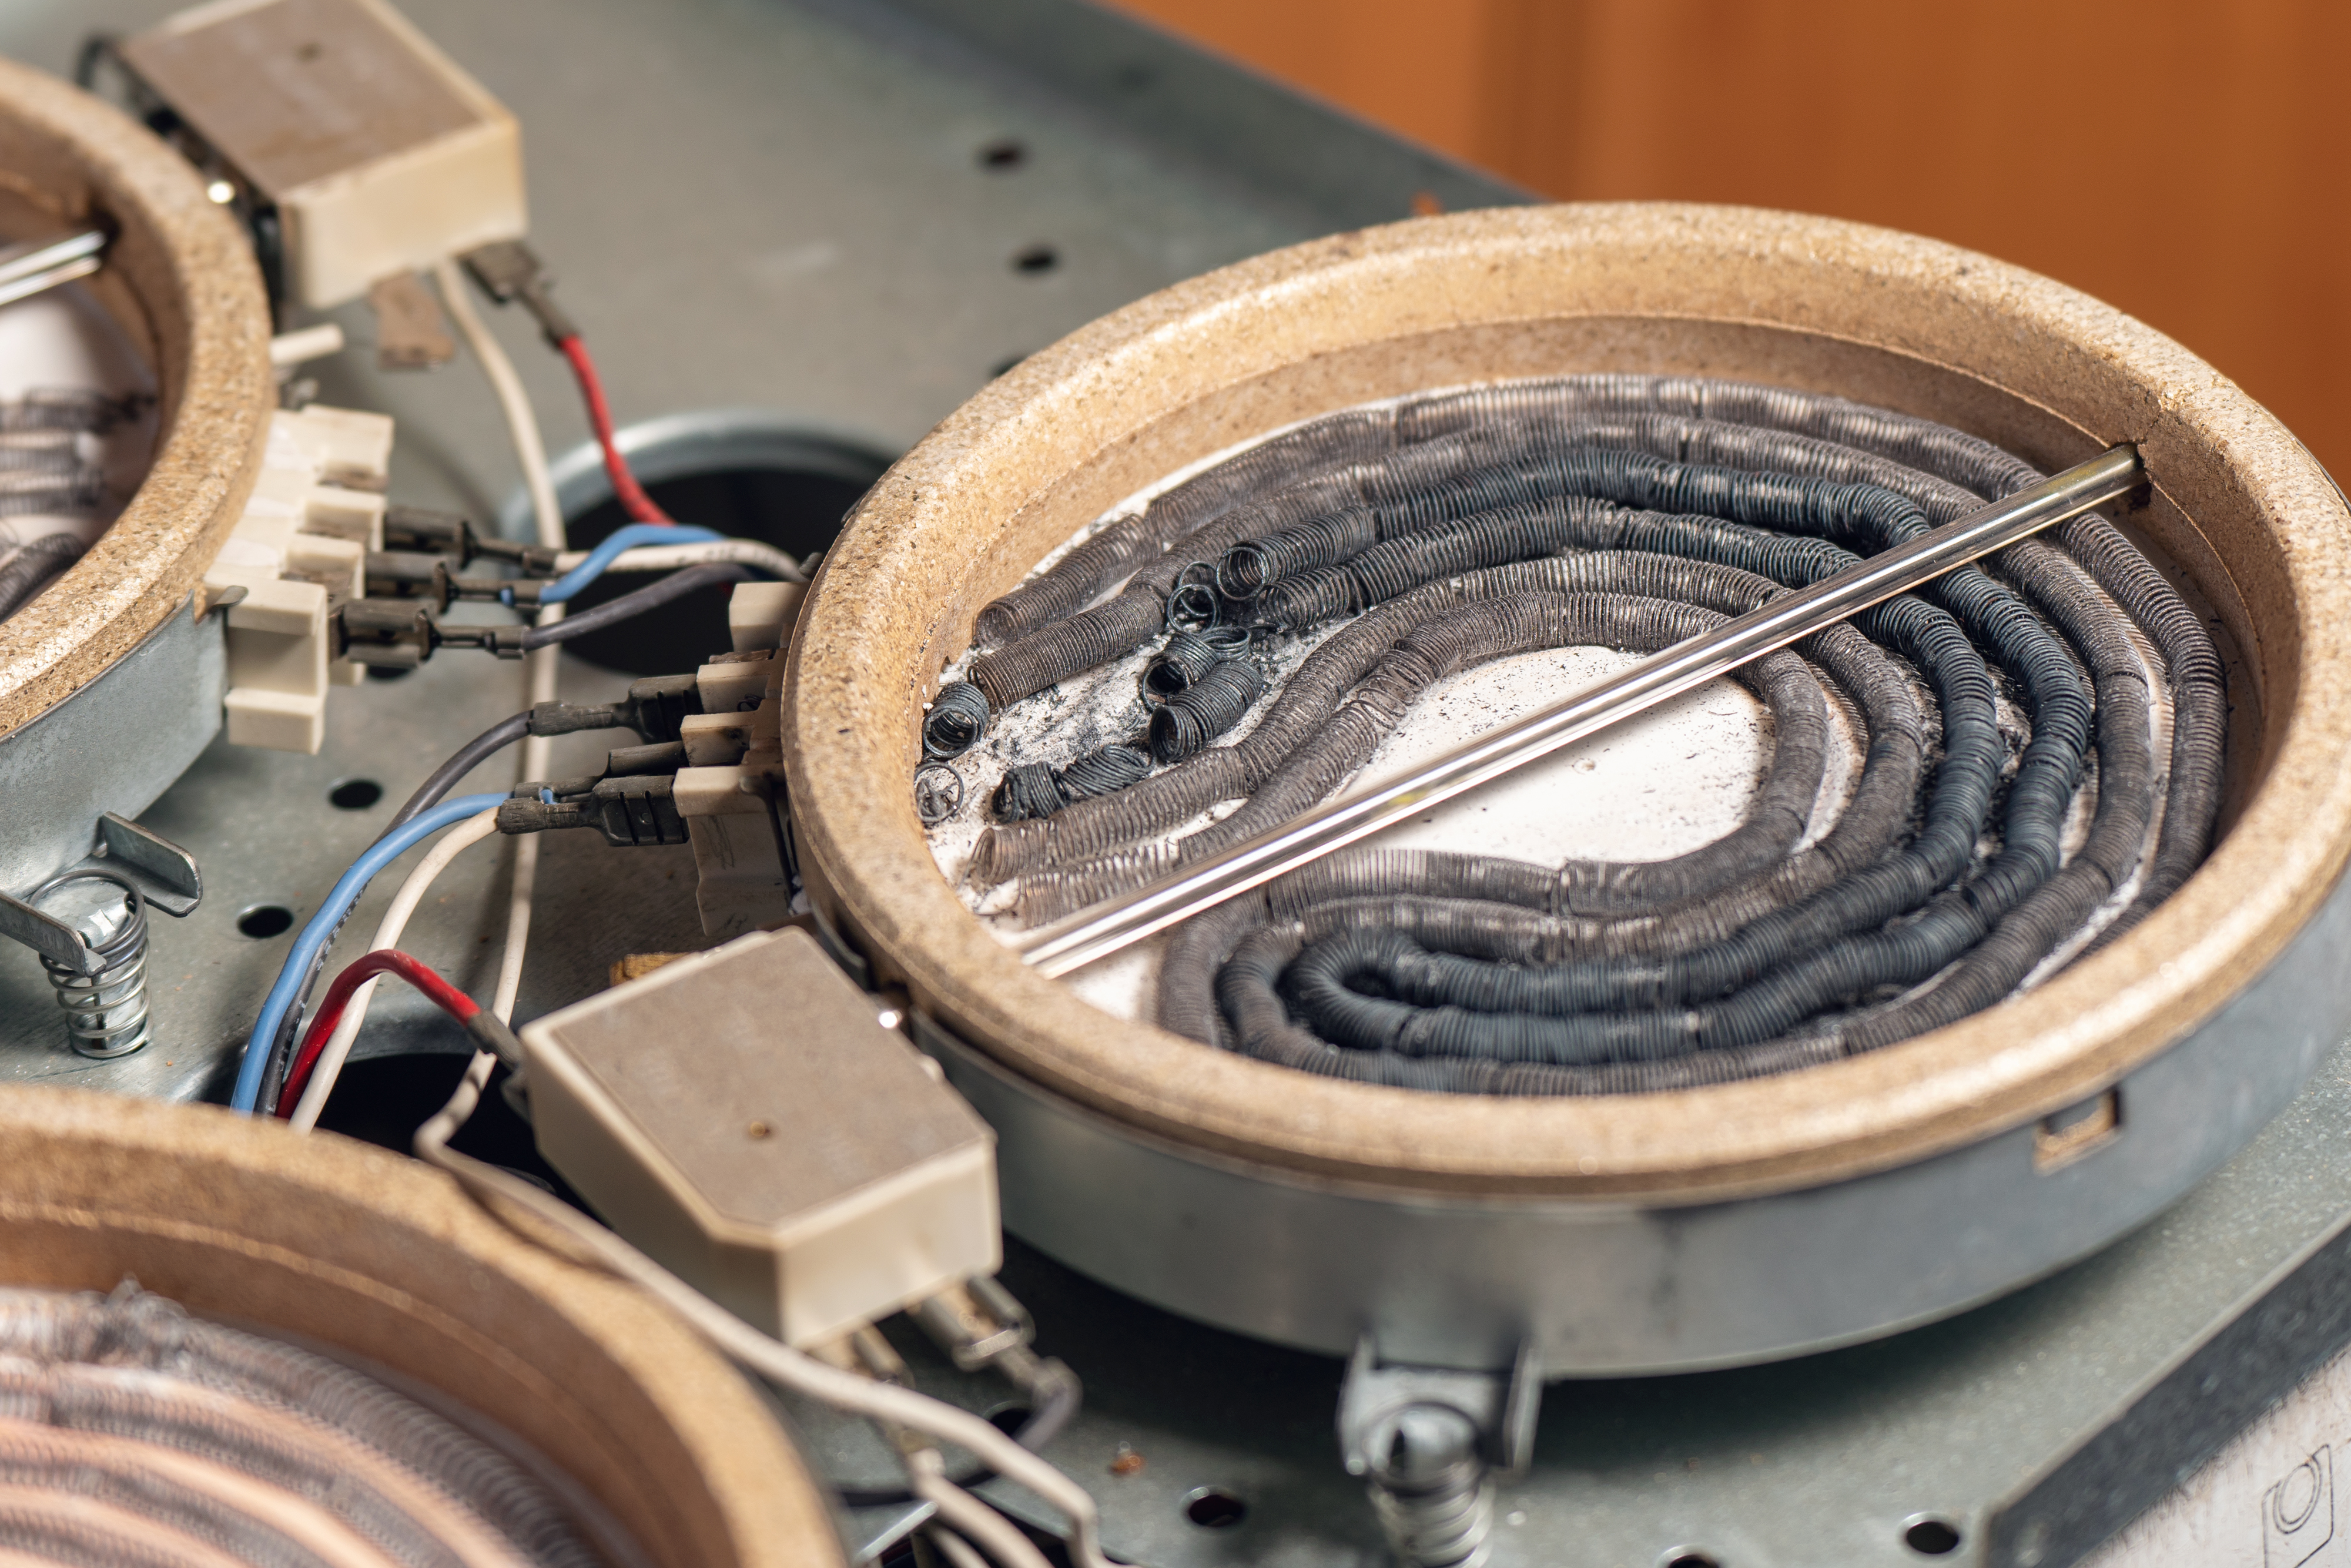
✓ Here’s how to do it.
- Start by unplugging your electric range from the power outlet.
- Next, locate the two screws located beneath the front of the main stove top cover.
- With an appropriate drill bit, carefully remove the screws and lift the stove cover.
- Once exposed, you’ll be able to see a metal guard sustaining the heating elements; carefully remove the bar by unscrewing the screws at each end.
- With the elements free, carefully unclamp them from the metal guard; generally, they will be held to the guard by a few clips, which can be pulled out.
- Once removed, take note of the wiring of the element you plan to replace.
- Install the new heating coil and replace the wires in their appropriate terminals.
- Clamp the elements back into the guard and secure the bar to the stove cover with the screws removed in step 4. Do not drill the screws too tightly; it can cause damage to the glass top.
- Gently lower the range cover and secure it down by replacing the screws removed in step 4.
If a multimeter determines a heating element is OK, then the problem may be a broken heat switch.
✓ Here’s how to check.
- Start by disconnecting your electric range from its power supply.
- Next, pull out the stove to access the back panel.
- Using the appropriate tool, remove the screws holding the back panel to the range.
- Locate the switch to the faulty element and remove the wires attached.
- Then, turn the knob to the highest setting for the element you want to test.
- Now, set your multimeter to the Ohms/Resistance setting.
- First, test the L1 and H1 terminals; the multimeter should show a reading between 0–1 ohm.
- Now, test L2 and H2, making sure to note any continuity.
If the multimeter reveals there is no continuity between the terminals, replacing the switch may solve the problem.
✓ How to replace a bad heat switch:
- After removing the back panel detailed in step 2 above, remove the knob that correlates to the faulty heating element.
- Using a screwdriver, remove the screws and detach the switch from the slot.
- Replace with a new heat switch. A replacement heat switch can be ordered by providing a model and serial number of your range to an appliance expert or from an online appliance part store. In some cases, the part number can be found on the current heat switch.
- Once installed, mount the switch to the front panel with the screws removed in step 2.
- Reconnect the wires to their appropriate terminals.
- Replace the back panel and screws.
- Plug in the range, slide into place, and test the new heat switch.
Electric Stove Oven Won’t Turn Off
A sweltering oven that won’t turn off can be a scary situation. If it’s something you’re experiencing, make sure to start by disconnecting your stove and letting it cool down completely before following these tips.
Check for a Bad Oven Control Board
Like a heat switch, a control board acts as a transmitter that tells the oven’s baking element when to turn on and off. When it trips, the element receives non-stop messages to stay on. Luckily, replacing an oven’s control board is relatively easy.
- Pull out your range and unplug it from its power source.
- Remove the top back plate. This is located behind the knobs.
- Locate the control board. This is the display that shows the time and temperature settings.
- Next, take a photo of where each wire is connected or make a note of where they are to reconnect them later.
- Detach the wires from the control board.
- Next, unscrew the control board from the range.
- Replace with a new control board and screw back into place.
- Reconnect the wires to their correct terminals.
- Reassemble the back and plug it into place.
Check for a Shorted Bake Element
After using a multimeter to check for continuity between terminals, if you find none, your heating element should be replaced. Here’s how.
- Disconnect your range from the power supply.
- Remove the oven racks.
- Next, loosen the screws holding the bake element in place.
- Then, pull the element out just enough to disconnect the wires from the terminals.
- After disconnecting the old heating element, connect the new bake element to the wires.
- Push the element back into its slot and screw it into place.
My Oven Doesn’t Heat Up
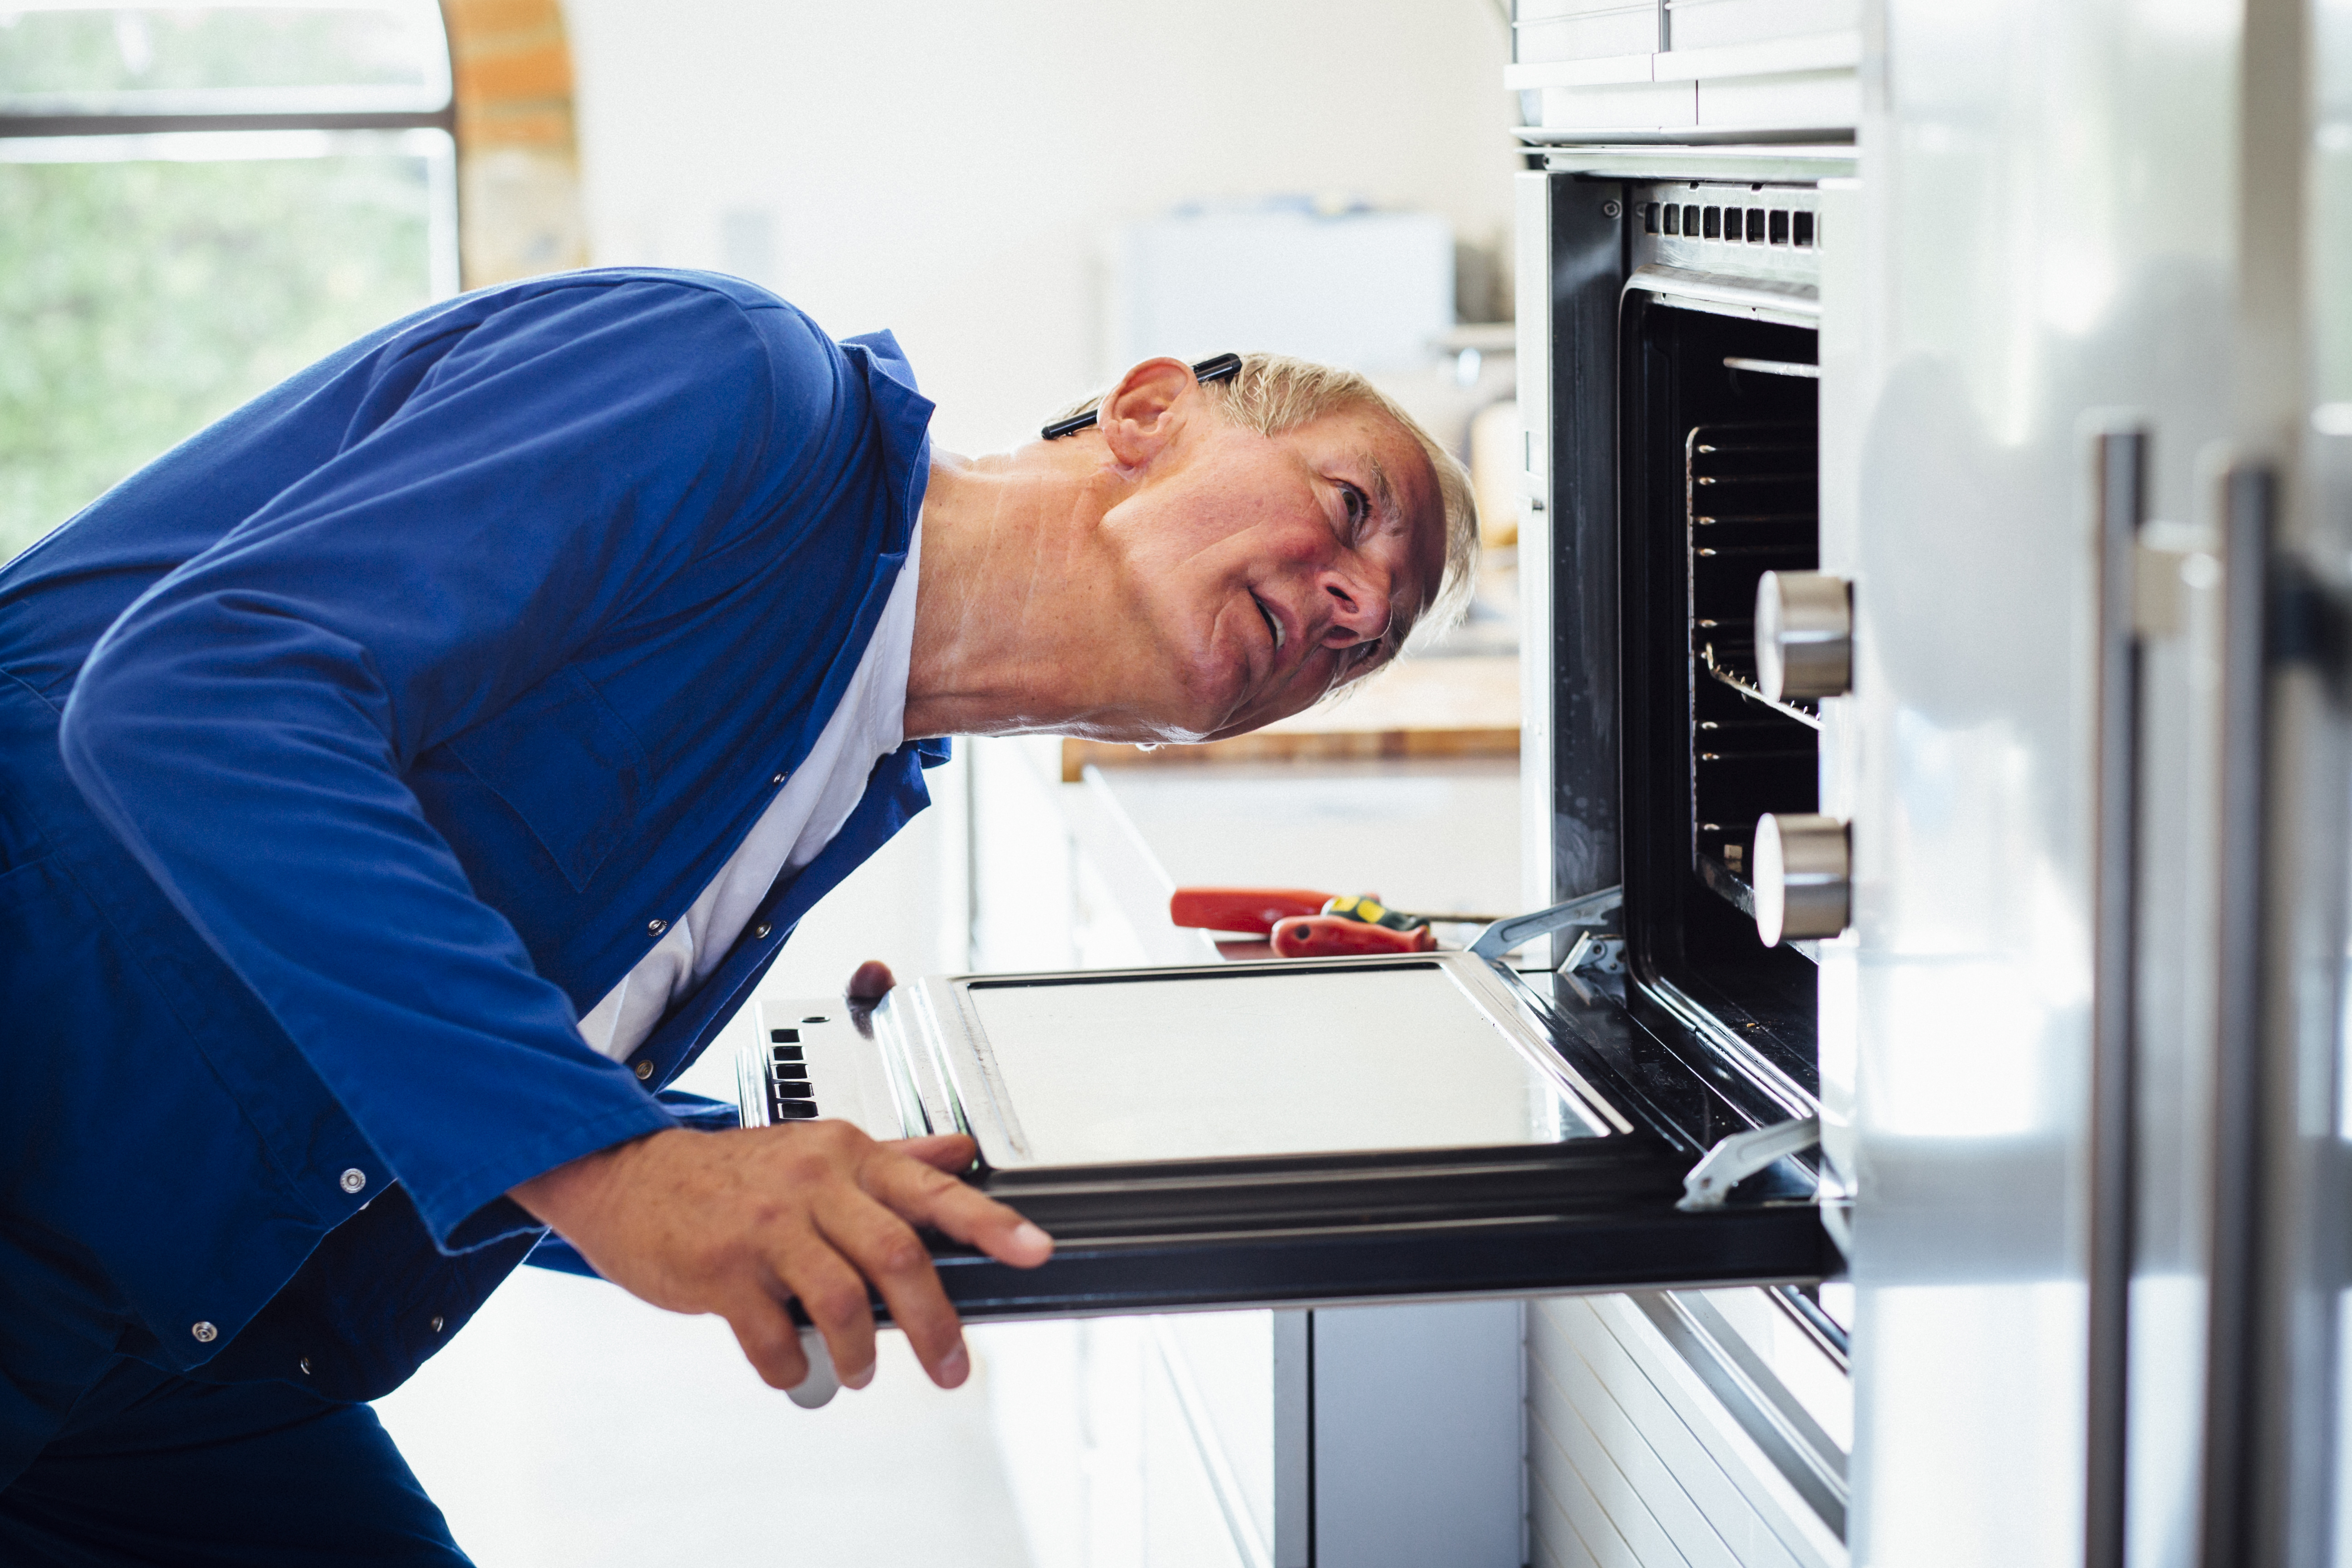
If you have an electric range oven, a bad bake element is most likely the reason your oven doesn’t heat or isn’t heating evenly. Unlike our diagnosis above for an electric stove oven that won’t turn off, the biggest indication a broken heating element isn’t heating your electric oven is an oven that doesn’t get hot.
Following the same steps for replacing a shorted baking element will solve this problem for an electric range.
✓ For gas range ovens, do the following.
- Begin by disconnecting your range from the power source and shutting off the gas supply.
- Remove the oven racks and anything else in the interior.
- At the bottom of the oven, locate two screws located toward the back wall; unscrew them.
- Lift and remove the cover.
- Locate the gas oven burner toward the back of the oven and held by a bracket.
- Remove the screws using the appropriate tool.
- Extend the igniter out from the bracket and disconnect it from its connector.
- Plug a new igniter into the connector, making sure not to touch the igniter with your hands.
- Tuck the connector and wires back in and mount the igniter with the holes aligned for the screws; replace the screws.
- Reposition the bottom oven cover and replace the screws.
- Plug your range into a power supply and reconnect the gas line.
Common Stove Problems: FAQs
Here are a few more answers to some common stove issues users frequently encounter.
What do you do when your stove won’t turn on?
If both the oven and stovetop fail to turn on, it is advised that you have a professional check the gas line. If the problem lies with the igniter, you may be able to address it independently of professional help. The igniter can be found inside the oven or underneath the broiler. If you find that the igniter is particularly well hidden, you should contact a professional.
Why is my stove working but not my oven?
Depending on whether you have a gas or electric range, the problem is most likely the heating element or gas igniter. Follow the tips above to see how to fix some common problems regarding the issue.
Can I replace an oven thermostat myself?
Replacing an oven thermostat is a simple process.
- Unplug your range and remove the oven racks.
- Locate the thermostat. Depending on the model, this will be located on the back oven wall and held together by two screws.
- After unscrewing the bolts, slowly feed the thermostat out of its hole until you reach the connector.
- Unplug the thermostat from the connector and replace it with a new one.
- Slowly feed the thermostat back into its hole and bolt it to the wall oven.
Why Trust Us?
Founded in 1971, Don’s Appliances is a family-owned, independent appliance retailer based out of Pittsburgh, PA. Don’s has since expanded to 10 locations selling, delivering, installing, and servicing all major appliance brands. Large enough to offer competitive pricing yet small enough to continue offering the “white glove” service we pride ourselves on, our focus is always on the customer experience — from the first step into a showroom to the purchase transaction to well after your new appliance has been installed.
When our customers are remodeling or building a new house, Don’s has all the expertise, product knowledge, inventory, brands, displays, and services to meet and exceed your needs. And in the event an appliance breaks, we are there, right on time and with the right product, delivery, installation, and service.
Shop Cooking Appliances at Don’s Appliances
Don’t put off until tomorrow what you can do today, and shop new stoves at Don’s Appliance. Our friendly experts are always happy to help you fix common stove problems — whether you call us at 866-544-1711, email us, or use our online chat feature. Better yet, stop by any of our Don’s Appliances Pittsburgh, PA warehouse locations. Visit us today!
Learn More: Best Electric Ranges Under $1,000